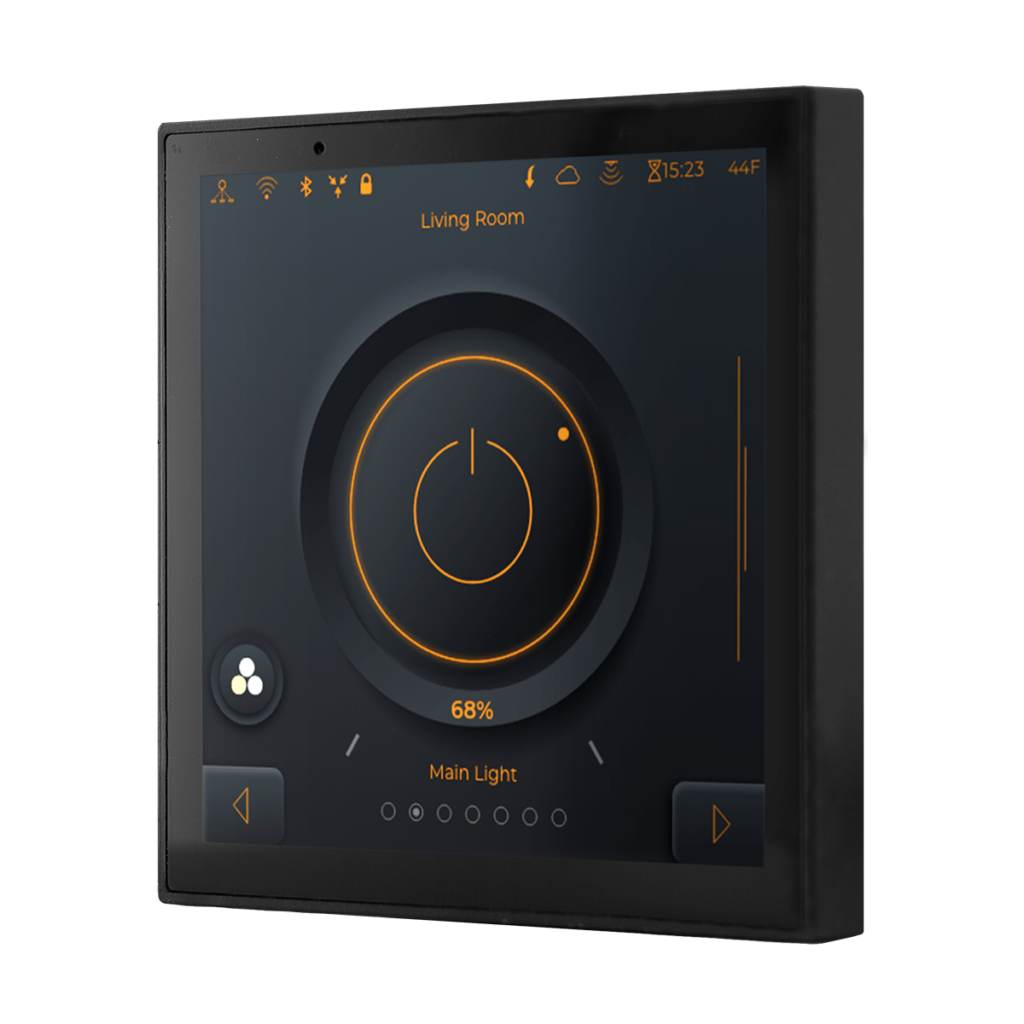
1.Installation Instructions
1.1 Safety Precautions
- Installation must be performed by professional electricians
- Turn off main power supply before installation
- Verify power is off using appropriate testing equipment
- Product must be kept away from fire and water
- Not suitable for moisture-prone areas (e.g., bathrooms)
- Follow all local electrical codes and regulations
- Verify relay load ratings before connection
1.2 Mounting Requirements
- Standard 86mm wall box compatibility
- Minimum 50mm mounting depth
- Dry, indoor location required
- Operating temperature: 0°C to 40°C
- Humidity range: 5-90% non-condensing
1.3 Installation Instructions
1.4 Pre-Installation Checks
- Verify wall box compatibility (86mm standard)
- Ensure minimum 50mm mounting depth
- Confirm power supply meets requirements
- Verify load requirements for relay channels
- Check all necessary tools are available
1.5 Installation Steps
- Turn off main power at circuit breaker
- Test that power is off with voltage tester
- Remove existing wall plate/device if present
- Install wall box if not present (minimum 50mm depth)
- Connect power and relay wiring according to diagram:
- N: Neutral Wire Input
- L: Line Wire Input (110 – 240V AC)
- L1: Line Wire Output (Relay 1)
- L2: Line Wire Output (Relay 2)
- If you want to use relay outputs please connect neutrals of UWMC-Z04 and Load together.
- Connect network cable (if using wired connection)
- Mount the device base to wall box
- Attach main unit to the base
- Verify installation is level and secure
1.6 Important Installation Notes
- Do not overtighten mounting screws
- Ensure proper clearance around the device
- Verify all connections before restoring power
- If panel is not flush after installation, check wall box alignment
2. Interface Configuration
2.1 Initial Setup
- Power on the device
- Select language and time zone
- Configure network settings
- Connect to ULDC system
- Verify system communication
2.2 ULDC Integration
- Network Configuration
- Configure device credentials
- Test connection status
- Device Discovery
- Scan for available ULDCs
- Add devices to interface
- Verify device communication
- Scene Configuration
- Create lighting scenes
- Set up schedules
- Configure automation rules
3. Operation Guideline
Complete the installation by following the Setup Manual steps.
4. Troubleshooting Guide
4.1 Common Issues
- Display Issues
- Screen not turning on
- Check power connection
- Verify input voltage
- Check for physical damage
- Touch not responding
- Clean screen surface
- Restart device
- Check for software updates
- Screen not turning on
- Network Connection Problems
- Wi-Fi Connection
- Verify network credentials
- Check signal strength
- Reset network settings
- Ethernet Issues
- Check cable connection
- Verify network settings
- Test network connectivity
- Wi-Fi Connection
- ULDC Communication
- Device Not Found
- Check network connectivity
- Confirm device ID
- Control Not Working
- Verify device status
- Test connection stability
- Device Not Found
5. Maintenance
- Regular Maintenance
- Clean screen with soft cloth
- Check connections periodically
- Update firmware when available
- Backup configuration data
- Preventive Measures
- Keep ventilation clear
- Avoid direct sunlight
- Protect from moisture
- Monitor system logs

